|
|
|
|
|
|
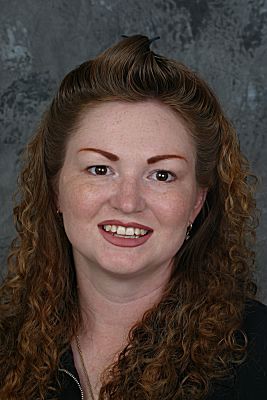
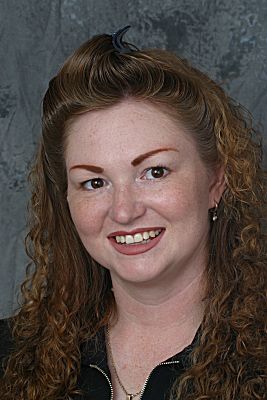
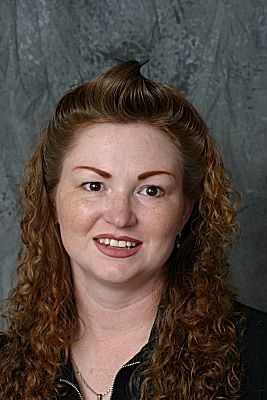
| Understanding Lighting Ratios It's easier than you think by Chuck McKern Once you have your basic lighting equipment and your basic lighting techniques down, your next step is to learn lighting ratios. If you understand these ratios, it is much easier to control your lighting to create mood, add a sense of depth or shape, and control the way textured surfaces look. People are intimidated by the term "lighting ratios". After all "ratio" implies math, and people hate math. But by the end of this short article you'll see how easy lighting ratios really are. Most people realize that a studio lighting set-up can use 3 or 4 lights. They get intimidated thinking about how they're going to figure out how all those lights will work together and what the lighting ratios will be. Well guess what, you only need to worry about two lights: the main light and the fill light! These are the two lights that "shape" your image. Any other supplemental lights only "accent" your image, and don't need to be included in the ratio. To find your lighting ratio, start by calculating the square root of pi - just kidding. You start by determining the output of your main and fill lights individually. The best way to do this is to set up your lights and take a meter reading. Block one of the lights. I like to use the black side of a light disc, so that you're only metering the unblocked light. Then do the same thing with the first light. Now, what is the ratio? In a nutshell, the ratio is the difference between the main light and the fill. If your main light were twice as bright as your fill, the ratio would be 2:1. Thinking about exposure factors, a factor of 2 is equal to one stop of exposure, and if you increase your exposure by one stop, you are allowing in twice the amount of light. Therefore, a 2:1 ratio would mean that there is a one-stop difference between the lights. A 3:1 ratio would be a stop and a half difference, and 4:1 would be a two-stop difference. The thing to remember when dealing with the ratios is that you multiply or divide by 2. This means that if you want to determine how much exposure difference there is in a ratio of 5:1, you would divide 5 by 2. The answer would be 2 1/2 stops. If you had a scene with a 2 1/2 stop difference between the lights and you wanted to determine the ratio, you would multiply 2 1/2 by 2 and would give you 5 for a 5:1 ratio. I told you the math wouldn't be hard! I don't recommend using ratios beyond 8:1. If you do, you'll have shadow areas with little or no visible detail. I've included a chart that shows the most common lighting ratios with the exposure difference and how that lighting ratio is most commonly used. See, lighting ratios are easy. All it takes is a little practice to master lighting ratios and to make it all stick. There's nothing like doing it a couple of times to make it all make sense. Once you master light, your photography will improve dramatically
|

|
|||||||||||||||||||||||||||||||
|
|
|
|
|
|
|
|
|