
|
|
|
|
|
|
| Studio
Lighting Techniques by Chuck McKern Most photographers are interested in
portrait lighting but most seem not to understand how to do it. The
techniques that we are going to discuss can be used with either hot lights
or studio strobes. You can use these same concepts with flash units,
however you will not be able to see the effect until after you shoot. With
practice you will be able to control the harshness of the light as well as
being able to de-emphasize problem areas, such as a narrow face or a round
face. The wrong lighting will emphasize these features and will not be
flattering to your subject. The right lighting will make your subject
happy indeed.
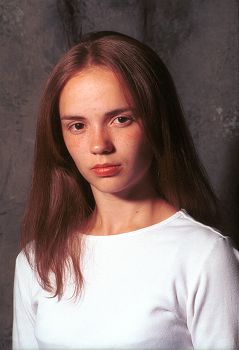
If you get daring enough to use a hair light cones
and snoots will allow you to control the light so that it only illuminates
the hair and doesn’t spill onto the shoulders and face of your subject.
The hair light is a lower power light that illuminates the subjects hair
providing separation from the background. This is especially important
when photographing a subject with dark hair against a dark background. To
properly place a hair light, you should bring the light forward enough to
let the light spill onto the subjects face, then slowly move it back until
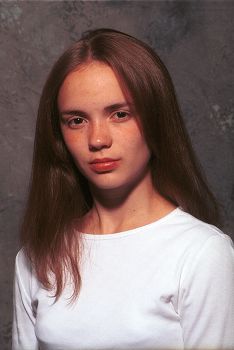
the light disappears from the subjects skin. Background lights can be used to illuminate the background, gaining more depth or separation in your image. This light is usually placed low to the ground on a small stand about half way between your subject and the background. A low power light is generally used. You can dramatically change the look of the shot by adding a gel to background light. Just remember when using gels you have to use a stronger light to compensate for the illumination being lost through the gel.
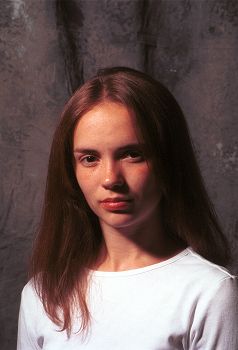
The reflector cards do not need another light source, as they will reflect the light that is already there. To find the proper location for the card, just move it in and out from a spot to see the effect. It will be noticeable to the naked eye. It is not necessary to use all of these accessories
and techniques together. For the most part they can be mixed and matched
to get whatever result you’re after. Although it sounds complicated with
a little practice light placement becomes second nature and you’ll
develop a setup that you’re comfortable with. It’s when you need an
effect you can’t get with your normal set-up that you’ll need some of
these additional lights and accessories. Hopefully these articles will give you a better understanding of what equipment you might need and how to use it. Keep in mind there is nothing wrong if a simple setup/technique gives you the result you are looking for. Too many people think that lighting has to be complicated. Practice and experimentation will tell you what works best for you and I promise it gets easier after the first few times. |
|
|
|
|
|
|
|
|
|
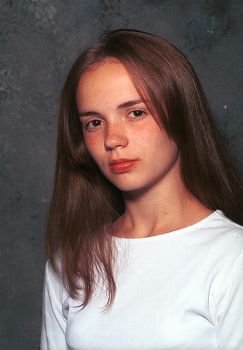

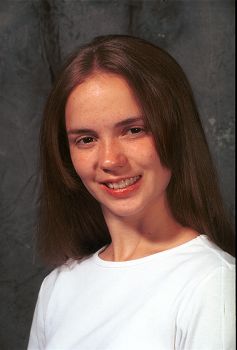
 Once you have placed all your lights in their proper
locations, added the needed accessories to them, and have gotten a general
feel for the way the shot looks, you can use a reflector card to add a
soft, supplemental light to areas that may still appear too dark. Some of
these cards have a gold side that you can use to add a warm glow to the
photograph. Others, like the one used in this shot, have a silver side to
provide more neutral fill light.
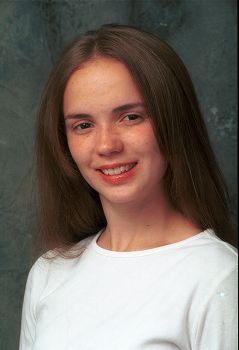
Once you have placed all your lights in their proper
locations, added the needed accessories to them, and have gotten a general
feel for the way the shot looks, you can use a reflector card to add a
soft, supplemental light to areas that may still appear too dark. Some of
these cards have a gold side that you can use to add a warm glow to the
photograph. Others, like the one used in this shot, have a silver side to
provide more neutral fill light.