|
|
|
|
|
|
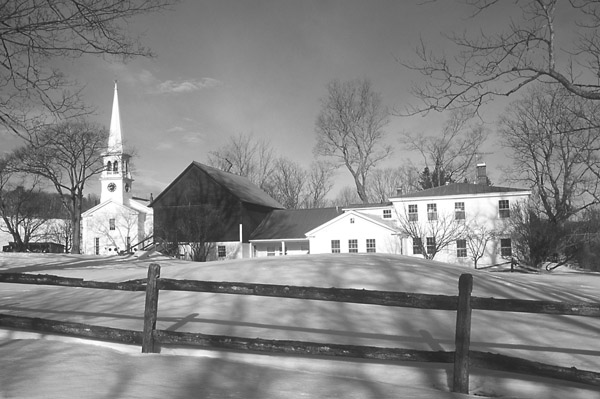
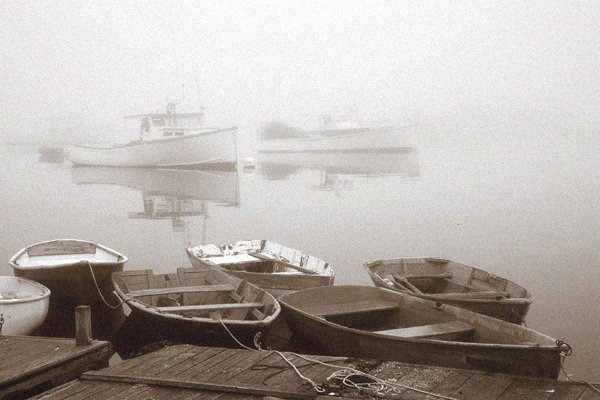
| Black and White Printing with Your Inkjet By Gary W. Stanley Ansel Adams' birthday was celebrated this past February 20th. Several well-known magazines featured articles on his accomplishments and contributions to the art of photography, the 'Zone' system, and to black and white printing. While black and white photography has never been my forte, I admire those individuals who are enthralled by all that it involves. I hate mixing chemicals, being in the dark, and working with tongs, yet I'll sit in front of a computer working in Photoshop until my eyes cross. Those of you familiar with Ansel Adams are very much aware of just how much time was spent in the darkroom after the photograph was taken. While Ansel didn't work in Photoshop, I'm convinced he'd have loved it. From time to time I convert images to black and white from some of my color scans. I may be printing a black and white brochure, or perhaps I just want to see how a particular image will work as a black and white. Some of my winter scenes for example look almost monochromatic, like a black and white image because of the overall lack of color on that given day.
Photoshop gives me the option of viewing my color-clouded world as black and white, at least for a little while. You'll be happy to know many of the Photoshop tools used to make adjustments to your color images, can also be used when working with a black and white image. Curves and Levels come to mind, for example. Because you may wish to make tonal adjustments to the image, you can use the same approach as I did in last month's article on Curves and Levels. For the purpose of this article I'll assume you're starting with a pre-scanned color image, although there is no reason you can't start with a black and white negative and proceed from that point. In either case you'll want to make adjustments to the image prior to printing.
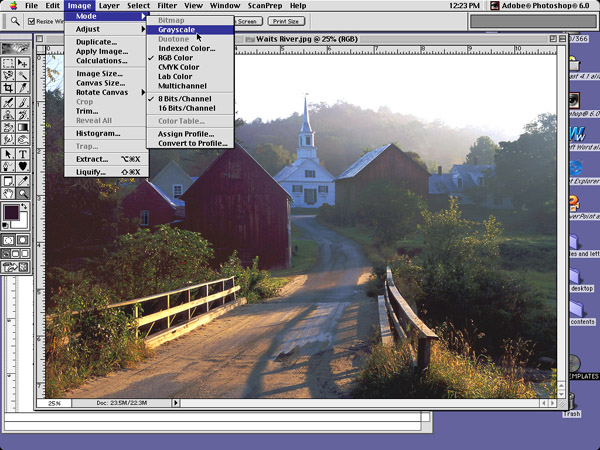
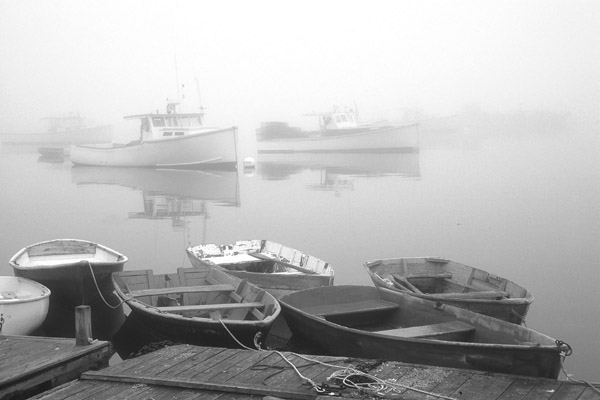
The first thing I usually do is convert the image to black and white. Go across the top menu bar and select, Image, Mode, and then Grayscale. Then it will ask if you wish to discard color information? Click OK.
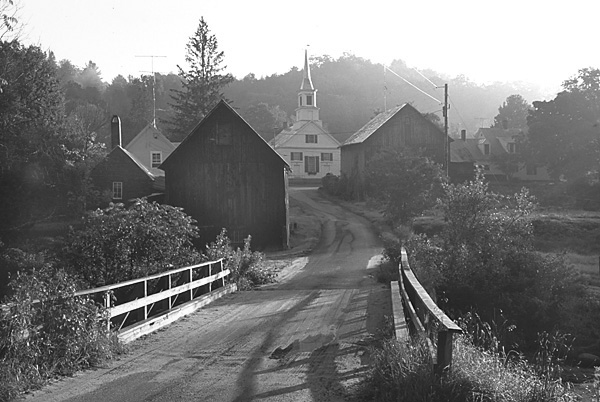
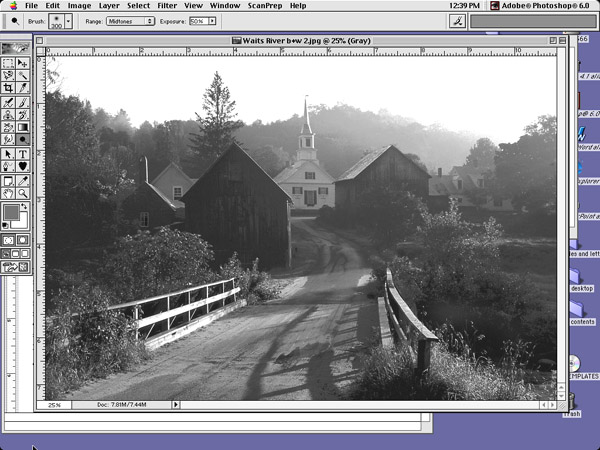
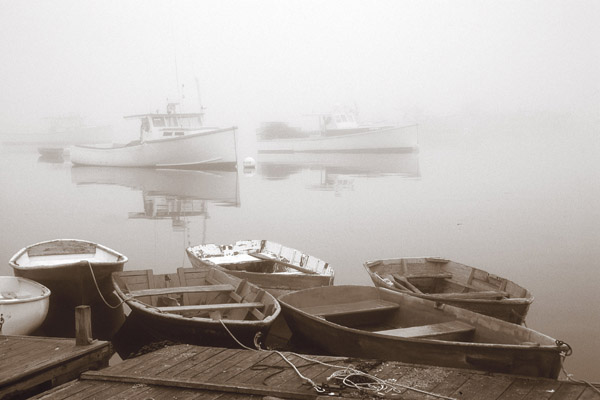
As long as you don't save it that way, you can undo it and go back to the color image. This is fine if all you want to do is take a quick look at how an image would look in black and white. As I mentioned earlier, you can still make all the tonal adjustments and produce a fine print. However, if you decide you want to go beyond the standard black and white image and produce an old-fashioned sepia toned print for example, there is another way to do it. Leave the image as an RGB color image, then go to your menu bar, and select Image, Adjust, and then Desaturate. You will again be looking at a black and white image, except now you still have all the same adjustment tools at your disposal that you have when working in color.
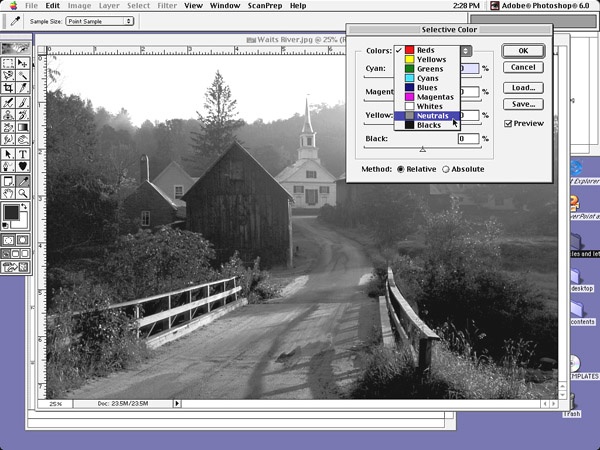
You can now go back to your menu bar and select Image, Adjust, Selective Color. With that dialog box open, at the top you will see Colors: Click Open and select Neutrals from the choices in that list.
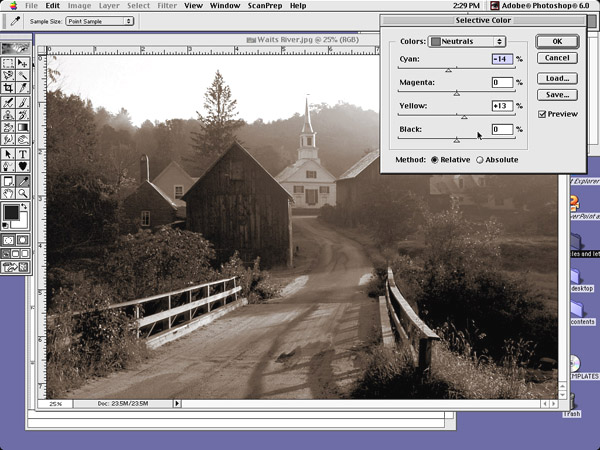
With that taken care of, all I have to do is adjust or add in some yellow (about +12 to 14%) and subtract some cyan (about -10 to 12%).
This is, of course, all subject to your particular tastes. You can play with this a little and pick the settings that work for you. Keep in mind that you may want to take notes, or jot down these settings, so you can repeat the process again if you so choose.
To get more of an antique look select Filter, Artistic, and then Film Grain to ad that grainy look to the image to enhance the look of an old photo. You can either stay with a traditional black and white, or experiment a little as I did with Sepia toning and adding grain to get the results that you want. Once you have chosen the image you want to print, and have made all of the adjustments you feel necessary to get a nice black and white image, you need to choose the type of ink-jet paper that best illustrates your own personal vision.
I have been using Ilford's great line of ink-jet papers called the Galerie professional inkjet photo range papers. I have tried the Classic Gloss, the Classic Pearl, and the Classic Smooth papers and I love the look. For the Fiberbase, or Iris watercolor paper look, try their Fine Art paper. They are available in 8½x11, 11x17, and 13x19 to accommodate the various printers. For information on their individual archival quality, contact Ilford at www.ilford.com. For information about the correct setting to use when using Ilford papers with your printer go to: http://www.ilford.com/html/us_english/prod_html/galerie/htm/lps/latprtset.htm Well, there you have it, a simple way of creating black and white images by way of the computer. For the purist out there that enjoys the excitement of black and white photography, and spending time in the darkroom, I say great, go for it. For the rest of you who mostly shoot in color and already own a computer, this is a fun approach to Black and White: The Way I See It. Also check out: |
|
|
|
|
|
|
|
|
|