How I Photograph Cars - At Least This One II
Dreamin' of Fiats
 I
made this month's photograph of a 1957
Autobianchi Bianchina using a Leica
Digilux II. Actually it was two photographs, so let me tell you how
that came to happen and the thought processes involved in creating the
final image. I
made this month's photograph of a 1957
Autobianchi Bianchina using a Leica
Digilux II. Actually it was two photographs, so let me tell you how
that came to happen and the thought processes involved in creating the
final image.
One Sunday, the Italian car clubs in Colorado held their annual car
show called Automezzi. www.auotomezzicolorado.org.
All kind of interesting cars showed up including Ferraris, Lamborghinis,
Lancias, Panteras, Maseratis, Alfa Romeos and Fiats. I've a love affair
with Fiats since the early '70s (I know Jim McGee thinks that I'm
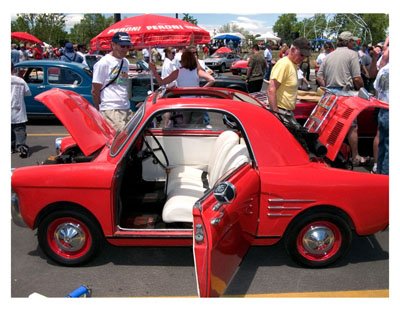
demented) and this little red car captured my imagination, but
unfortunately, there was always a crowd around it.
This year's Automezzi was at a new, less photogenic location and
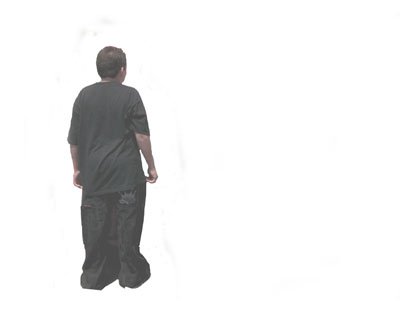
photographs were much hard to make. On the way out, I took a last look at
this car and there was this kid - dressed all in black - standing in front
of it. So I made the shot with a Leica Digilux II. The camera's ISO was
set at 200, shutter sped 1/500th of a second at f /7.1 with the flash
popped up. (Don't ask me why, it was basically a grab shot). As I looked
back, the kid had moved and I made a second exposure, also in RAW mode as
I almost always do these days in order to get the maximum quality from the
digital file.
At the moment of the second exposure I knew two things: I was going to
combine both images on different layers in Adobe Photoshop CS and I was
going to change the opacity on the "kid" layer so he showed
through the car in a ghostly way. Later on, I opened both RAW files using
Photoshop's camera RAW import module and tweaked the images using the
White Balance pop-up menu. I then used Picto's I Correct Professional
plug-in ( www.picto.comv)
to make each image as neutral as possible.
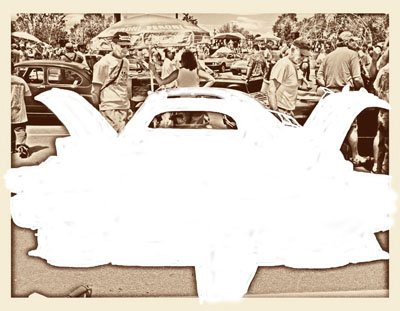
Working first with the photograph without a car, I saved it as a PSD
file and created a duplicate layer (Layer>Duplicate Layer) Since the
background was so busy I experimented with various color treatments for
the duplicate layer and ended up applying nik Color Efex Pro's www.nikmultimedia.com
Old Photo: Black and White filter. I thought the effect was perfect. Next
I used Photoshop's Eraser tool and erased a hole in the duplicate layer
where the car was located. When I do this, I usually turn off the other
layers so I can only see the one I'm easing.
Next, I dragged the photo of the kid on top the PSD file, automatically
creating another layer and making sure that the kid layer was the topmost
layer. Then I erased everything but the kid. Since I wanted the kid to be
"ghostly" (remember my original concept?), I changed the opacity
of kid layer to 70% in the Layer's palette.
Even though the car is a Autobianchi Bianchina, I call the final image
"Dreaming of Fiats," and feel that unlike most of my car photos
which are just pretty pictures, this one tells a story. I know what my
story for this photograph is? What's yours? 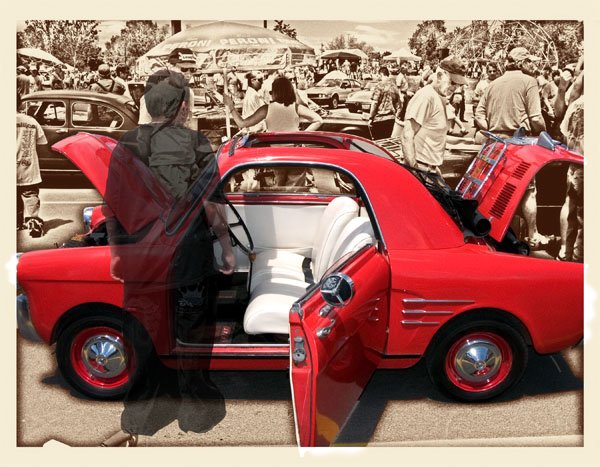
 Subscribe to
Vivid Light
Subscribe to
Vivid Light
Photography by email
Tell
Us What You Think
|