|
|
|
|
|
|
|
Playing with Reality by Jim McGee Someone once said that reality is highly overrated. If you share that view you can easily modify reality using Photoshop or Paintshop using some pretty simple tools.
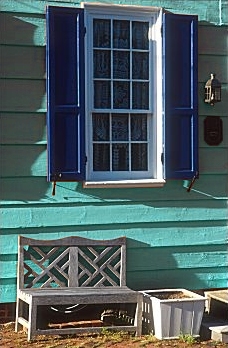
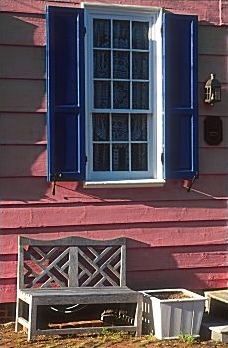
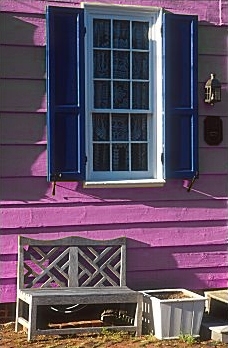
Your first step in modifying reality is to select only the areas you want to change. In this case lets say we want to change the paint color on the house. Select all the painted areas in the image one at a time and then combine them into a single layer that you can work with. In this case the easiest way to do this was to start by isolating the window an shutters using the lasso tool. Then choose "Invert Selection" which now chooses everything but the window and shutters. Promote this selection to a layer and they simply delete any areas that aren't painted. Next open Hue/Saturation control. Move the slider side to side with preview enabled and you can watch the paint magically change color! Using the saturation control you can ramp up intensity of the color.
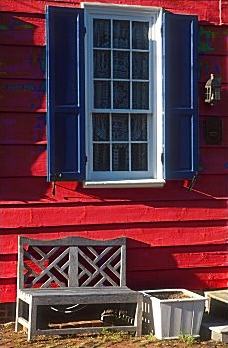
Once you've got the color you want close out of Hue/Saturation. In Paintshop open the Gamma control. In Photoshop open the Levels control. Either of these allow you to control the image gamma. In Photoshop's levels control the gamma is the middle value under input levels and defaults to 1.0. Lowering the gamma "deepens" the image while raising it brings out shadow detail at the expense of highlights. You can use this control to selectively deepen or lighten the painted area.
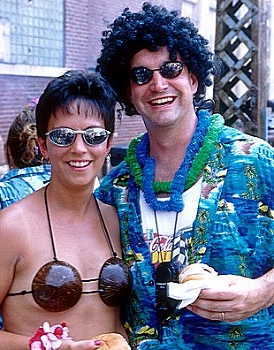
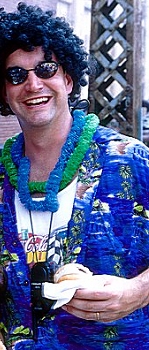
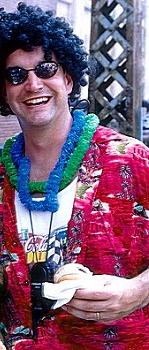
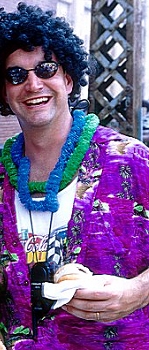
Besides doctoring images for you family room you can use this technique creatively or even for mundane tasks such as considering what color to paint your house. It works best when you have strong saturated colors to start with. I tried it on an image of a Porsche with light gray paint and the results were disappointing. A while back I picked on some folks I'd shot at a Jimmy Buffett concert in one or our digital darkroom column. I'll pick on them here again to illustrate one other point about using this method to play with color. Wild Caribbean clothing is a requirement to attend a Buffett concert. Notice the colors in his Hawaiian shirt. I can shift the shirt through a variety of colors but both black and white remain unchanged; something to keep in mind in your artistic endeavors. Now go through your old images and pull out a couple to play with. This technique can be a lot of fun!
|
|
||||||||||
    |
|
|
|
|
|
|
|
|
|
 The
first image is of the front of a historic house in Annapolis Maryland shot
on our sailing trip down the Chesapeake last year. For the sake of argument
lets say that you like this particular image and would like to create a
print for your family room. The problem is the colors on the house don't
quite go with the color scheme in your room. So why not change reality a
little?
The
first image is of the front of a historic house in Annapolis Maryland shot
on our sailing trip down the Chesapeake last year. For the sake of argument
lets say that you like this particular image and would like to create a
print for your family room. The problem is the colors on the house don't
quite go with the color scheme in your room. So why not change reality a
little?